Produce a comprehensive set of management accounts which consists of a financial dashboard, statement of comprehensive income, statement of cash flows and a statement of financial position by completing the following steps:
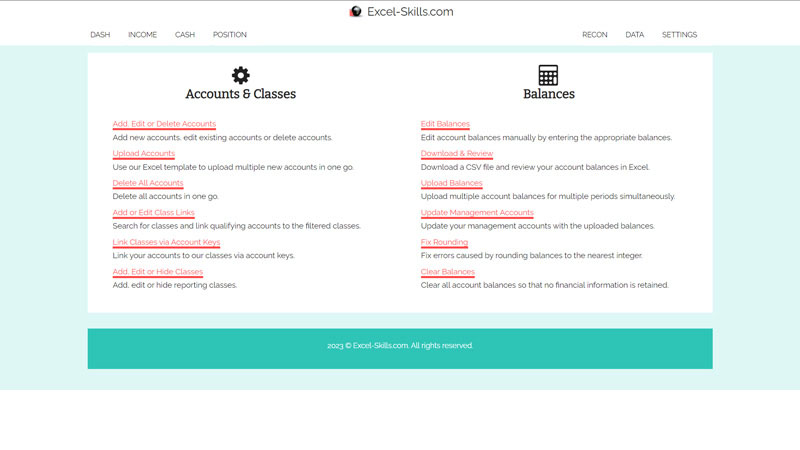
- Upload your accounts
- Download our comma-separated values (CSV) template and upload your accounts. You can use our default account structure which makes it easier to link your accounts to our reporting classes or use your own account structure in any account format.
- Add Class Links
- Link your accounts to our pre-defined reporting classes. You can link classes by individual account, search for an account key and link multiple classes simultaneously or upload your account keys and link all your classes in one go.
- Upload Balances
- Download our comma-separated values (CSV) template containing all your existing account balances, make the required changes and upload the account balance file. All account balances need to be uploaded on a cumulative basis. If you only have monthly account balances available, use our unique Excel template to convert your monthly balances to cumulative balances.
- Update Management Accounts
- Uploading your account balances do not automatically update your management accounts. You can check your uploads first and then just click one button to update your management accounts.
- Fix Rounding
- If you upload balances which contain cents, these are automatically rounded to the nearest integer values which may then result in rounding differences. This feature can be used to fix these rounding differences in one go by pressing one button.
Below follows more comprehensive guidance on the steps listed above together with some additional info about our online management accounts.
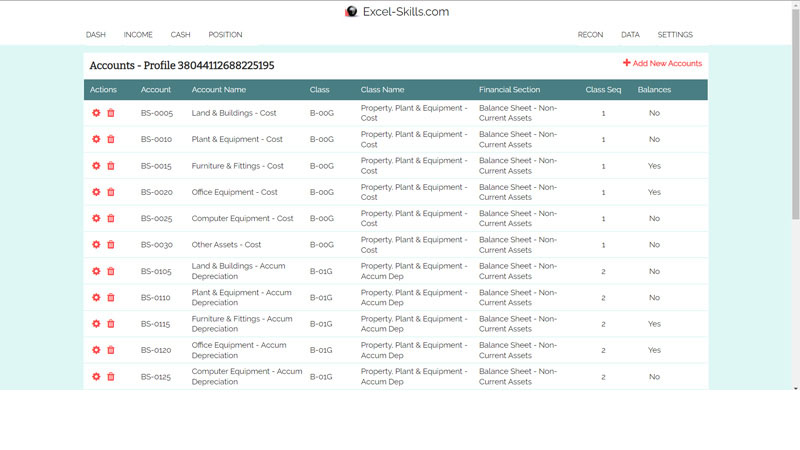
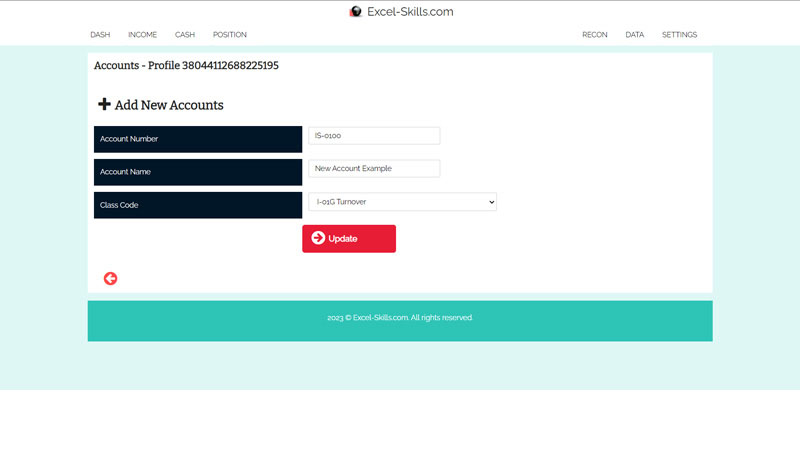
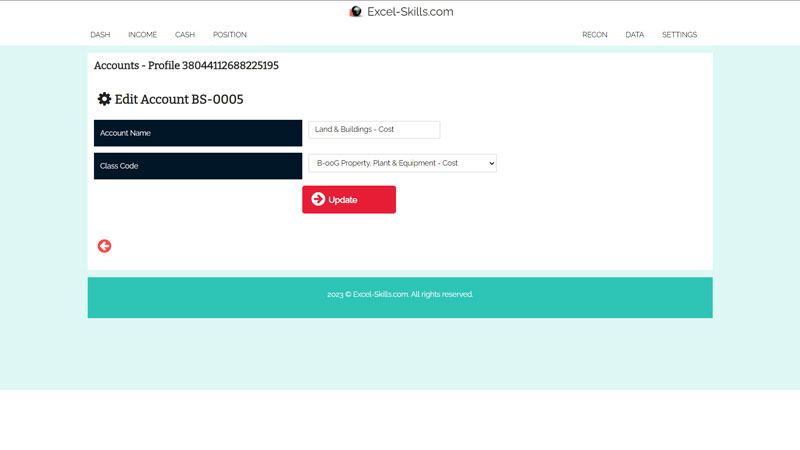
Add, Edit or Delete Accounts
- Add new accounts individually and link them to our reporting classes. You can also edit existing accounts or delete individual accounts.
Upload Accounts
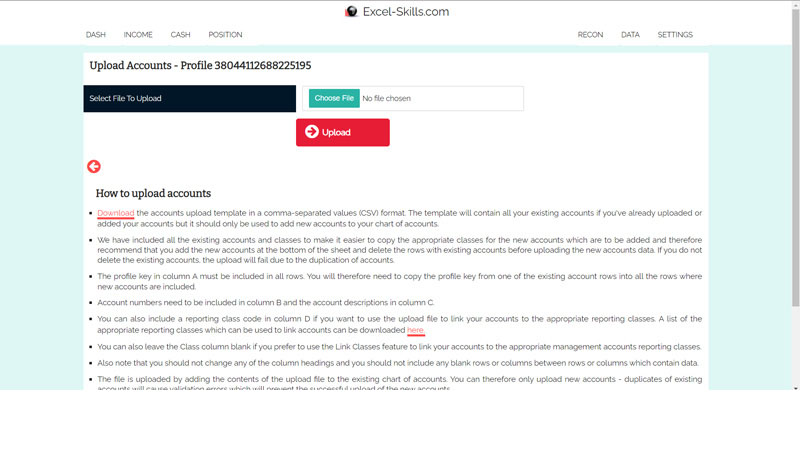
- Download the accounts upload template in a comma-separated values (CSV) format. The template will contain all your existing accounts if you've already uploaded or added your accounts but it should only be used to add new accounts to your chart of accounts.
- We have included all the existing accounts and classes to make it easier to copy the appropriate classes for the new accounts which are to be added and therefore recommend that you add the new accounts at the bottom of the sheet and delete the rows with existing accounts before uploading the new accounts data. If you do not delete the existing accounts, the upload will fail due to the duplication of accounts.
- The profile key in column A must be included in all rows. You will therefore need to copy the profile key from one of the existing account rows into all the rows where new accounts are included.
- Account numbers need to be included in column B and the account descriptions in column C.
- You can also include a reporting class code in column D if you want to use the upload file to link your accounts to the appropriate reporting classes. A list of the appropriate reporting classes which can be used to link accounts can be downloaded here.
- You can also leave the Class column blank if you prefer to use the Link Classes feature to link your accounts to the appropriate management accounts reporting classes.
- Also note that you should not change any of the column headings and you should not include any blank rows or columns between rows or columns which contain data.
- The file is uploaded by adding the contents of the upload file to the existing chart of accounts. You can therefore only upload new accounts - duplicates of existing accounts will cause validation errors which will prevent the successful upload of the new accounts.
- If you want to use our default account structure which has already been linked to the appropriate reporting classes, you can download this file and then simply copy the account numbers, account descriptions and class codes into your upload file. You will then need to use our default account numbers to include your account balances.
Delete All Accounts
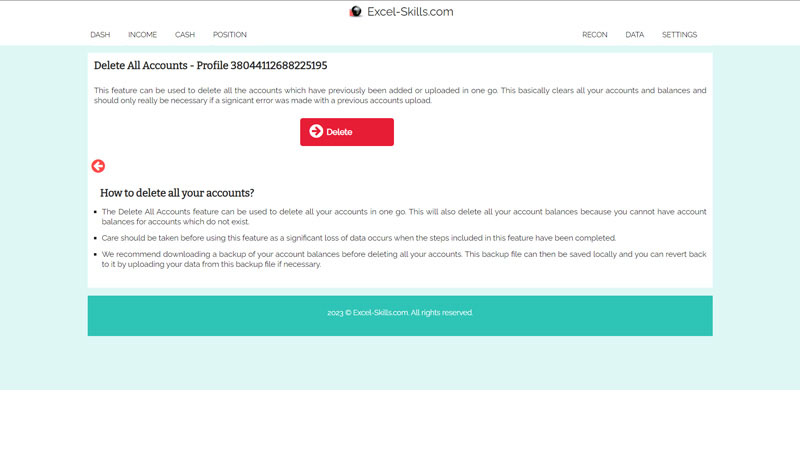
- The Delete All Accounts feature can be used to delete all your accounts in one go. This will also delete all your account balances because you cannot have account balances for accounts which do not exist.
- Care should be taken before using this feature as a significant loss of data occurs when the steps included in this feature have been completed.
- We recommend downloading a backup of your account balances before deleting all your accounts. This backup file can then be saved locally and you can revert back to it by uploading your data from this backup file if necessary.
Add or Edit Class Links
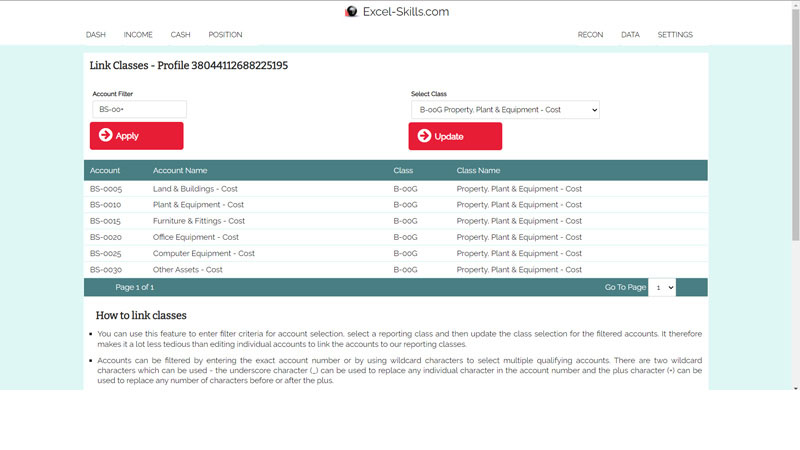
- You can use this feature to enter filter criteria for account selection, select a reporting class and then update the class selection for the filtered accounts. It therefore makes it a lot less tedious than editing individual accounts to link the accounts to our reporting classes.
- Accounts can be filtered by entering the exact account number or by using wildcard characters to select multiple qualifying accounts. There are two wildcard characters which can be used - the underscore character (_) can be used to replace any individual character in the account number and the plus character (+) can be used to replace any number of characters before or after the plus.
- Examples
- I+ - all income statement type accounts
- B+ - all balance sheet type accounts
- +10 - all accounts ending in the number 10
- +35+ - all accounts containing the number 35
- IS-_9+ - all income statement accounts which contain a 9 in the 5th position
- __-4+ - all income statement or balance sheet accounts with the number 4 as the fourth character
- I+9 - all income statement accounts which end in the number 9
- + - all accounts
- IS-0305 - only account IS-0305
- IS-03+ - all accounts in the IS-03 account group
Link Classes via Account Keys
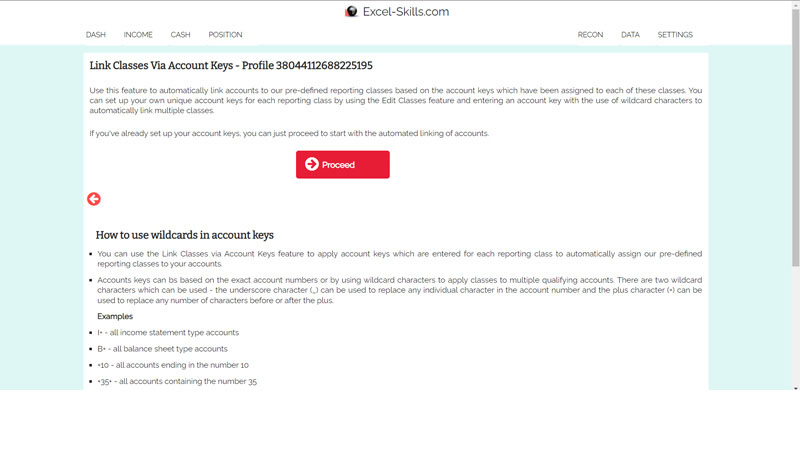
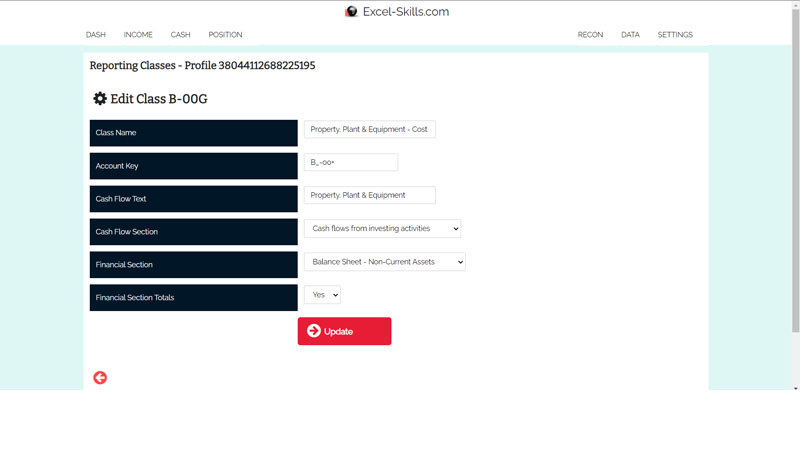
- Use this feature to automatically link accounts to our pre-defined reporting classes based on the account keys which have been assigned to each of these classes. You can set up your own unique account keys for each reporting class by using the Edit Classes feature and entering an account key with the use of wildcard characters to automatically link multiple classes.
- If you've already set up your account keys, you can just proceed to start with the automated linking of accounts.
- How to use wildcards in account keys
- You can use the Link Classes via Account Keys feature to apply account keys which are entered for each reporting class to automatically assign our pre-defined reporting classes to your accounts.
- Accounts keys can bs based on the exact account numbers or by using wildcard characters to apply classes to multiple qualifying accounts. There are two wildcard characters which can be used - the underscore character (_) can be used to replace any individual character in the account number and the plus character (+) can be used to replace any number of characters before or after the plus.
- Examples
- I+ - all income statement type accounts
- B+ - all balance sheet type accounts
- +10 - all accounts ending in the number 10
- +35+ - all accounts containing the number 35
- IS-_9+ - all income statement accounts which contain a 9 in the 5th position
- __-4+ - all income statement or balance sheet accounts with the number 4 as the fourth character
- I+9 - all income statement accounts which end in the number 9
- + - all accounts
- IS-0305 - only account IS-0305
- IS-03+ - all accounts in the IS-03 account group
- B_-00+, B_-01+ - apply the class to both the BS-00 and BS-01 account groups
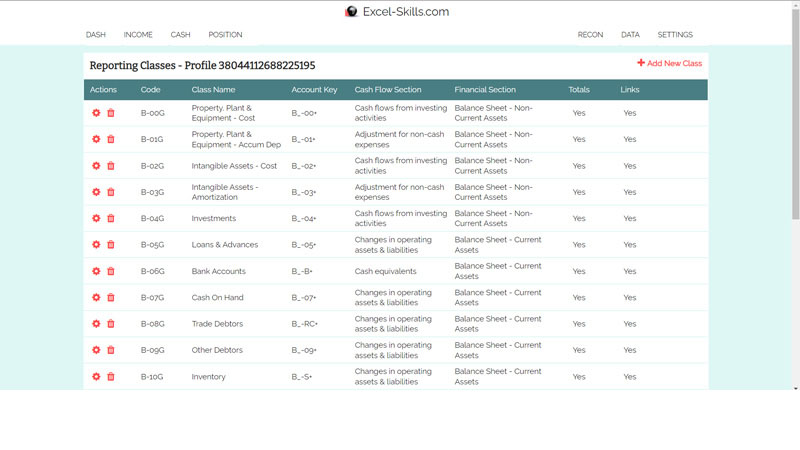
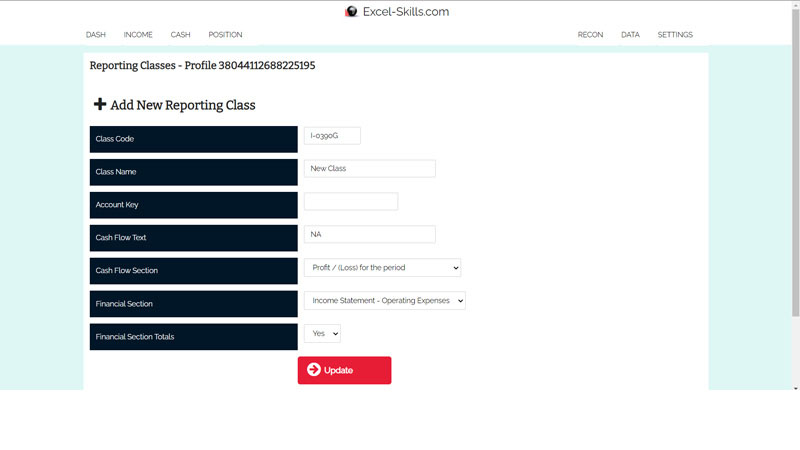
Add, Edit or Hide Classes
- Add new reporting classes, edit existing reporting classes or hide classes which are not going to be used.
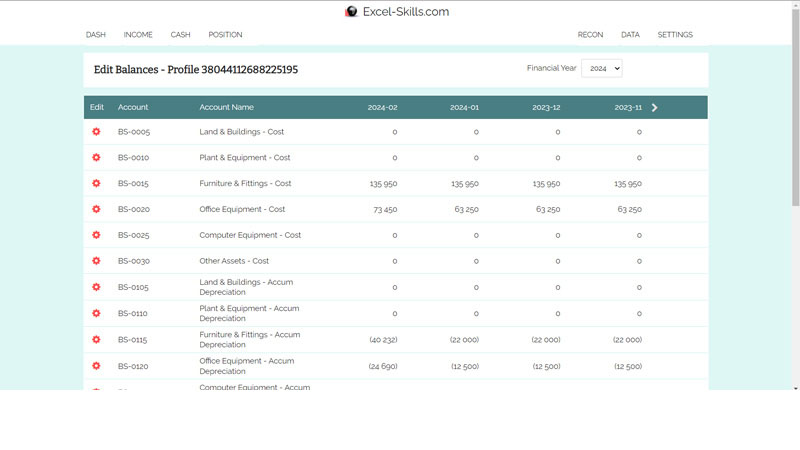
Edit Balances
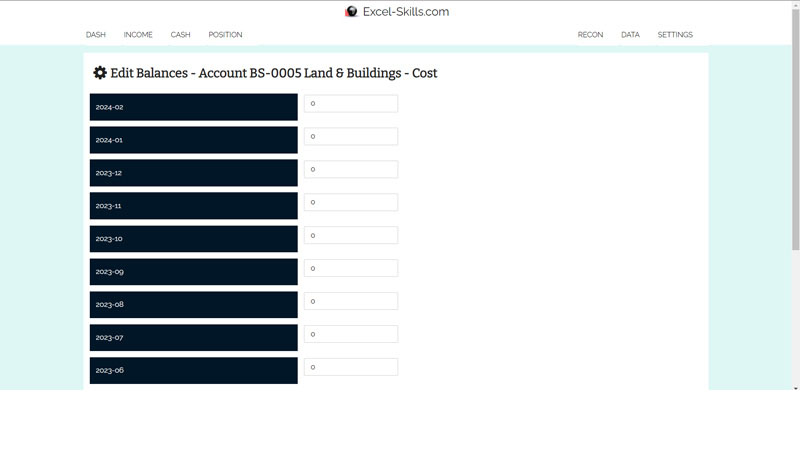
- Select a financial year at the top of the page and edit any of the account balances for any of the monthly periods which are incluced in the selected financial year.
Download & Review
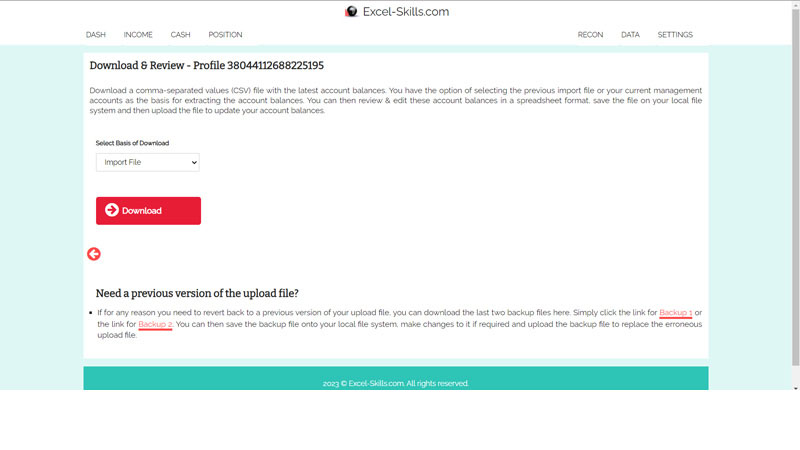
- Download a comma-separated values (CSV) file with the latest account balances. You have the option of selecting the previous import file or your current management accounts as the basis for extracting the account balances. You can then review & edit these account balances in a spreadsheet format, save the file on your local file system and then upload the file to update your account balances.
- Need a previous version of the upload file?
- If for any reason you need to revert back to a previous version of your upload file, you can download the last two backup files here. Simply click the link for Backup 1 or the link for Backup 2. You can then save the backup file onto your local file system, make changes to it if required and upload the backup file to replace the erroneous upload file.
Upload Balances
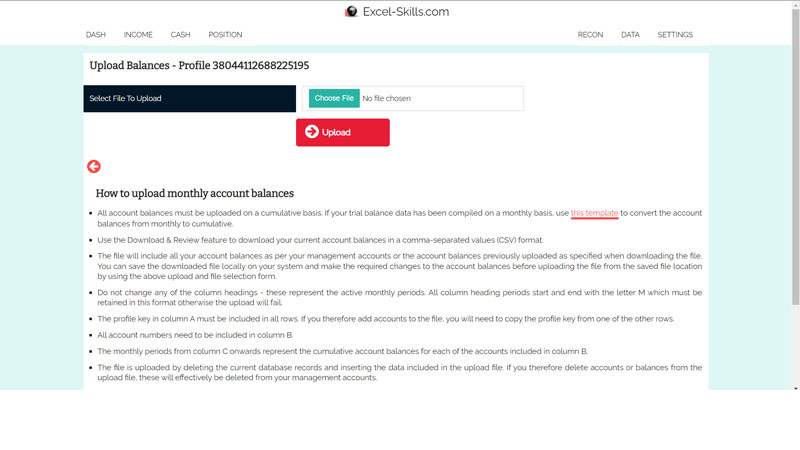
- All account balances must be uploaded on a cumulative basis. If your trial balance data has been compiled on a monthly basis, use this template to convert the account balances from monthly to cumulative.
- Use the Download & Review feature to download your current account balances in a comma-separated values (CSV) format.
- The file will include all your account balances as per your management accounts or the account balances previously uploaded as specified when downloading the file. You can save the downloaded file locally on your system and make the required changes to the account balances before uploading the file from the saved file location by using the above upload and file selection form.
- Do not change any of the column headings - these represent the active monthly periods. All column heading periods start and end with the letter M which must be retained in this format otherwise the upload will fail.
- The profile key in column A must be included in all rows. If you therefore add accounts to the file, you will need to copy the profile key from one of the other rows.
- All account numbers need to be included in column B.
- The monthly periods from column C onwards represent the cumulative account balances for each of the accounts included in column B.
- The file is uploaded by deleting the current database records and inserting the data included in the upload file. If you therefore delete accounts or balances from the upload file, these will effectively be deleted from your management accounts.
- Do not include any blank rows or columns between rows that contain data otherwise your upload will fail.
- Account balances which contain cents will be rounded to the nearest integer value automatically. This is to avoid rounding in the management accounts which can cause line items to not add up correctly as displayed in financial reports due to rounding having been applied.
Update Management Accounts
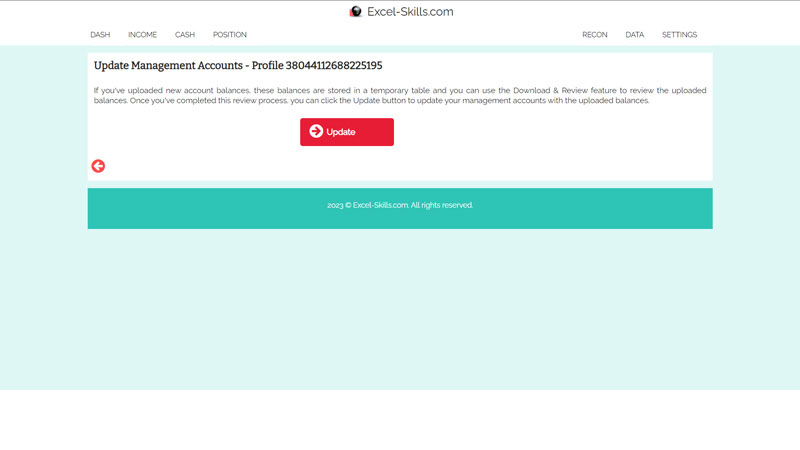
- If you've uploaded new account balances, these balances are stored in a temporary table and you can use the Download & Review feature to review the uploaded balances. Once you've completed this review process, you can click the Update button to update your management accounts with the uploaded balances.
Fix Rounding Errors
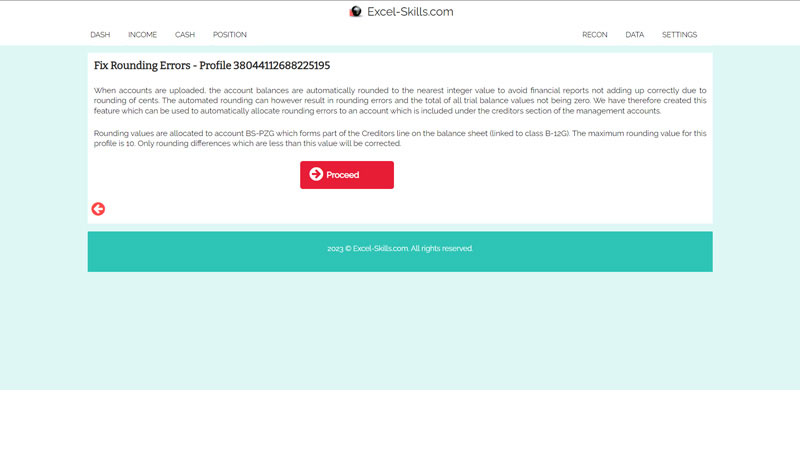
- When accounts are uploaded, the account balances are automatically rounded to the nearest integer value to avoid financial reports not adding up correctly due to rounding of cents. The automated rounding can however result in rounding errors and the total of all trial balance values not being zero. We have therefore created this feature which can be used to automatically allocate rounding errors to an account which is included under the creditors section of the management accounts.
- Rounding values are allocated to account BS-PZG which forms part of the Creditors line on the balance sheet (linked to class B-12G). The maximum rounding value can be set on a profile level (default value is 10). Only rounding differences which are less than the maximum value will be corrected.
Clear Balances
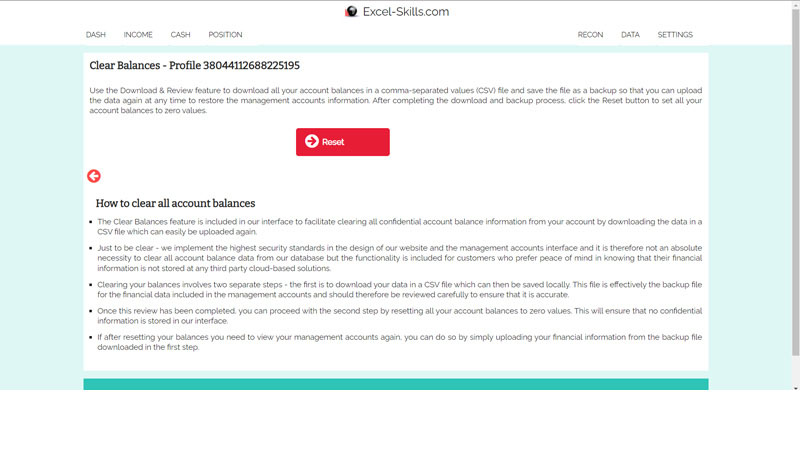
- Use the Download & Review feature to download all your account balances in a comma-separated values (CSV) file and save the file as a backup so that you can upload the data again at any time to restore the management accounts information. After completing the download and backup process, click the Reset button to set all your account balances to zero values.
- How to clear all account balances
- The Clear Balances feature is included in our interface to facilitate clearing all confidential account balance information from your account by downloading the data in a CSV file which can easily be uploaded again.
- Just to be clear - we implement the highest security standards in the design of our website and the management accounts interface and it is therefore not an absolute necessity to clear all account balance data from our database but the functionality is included for customers who prefer peace of mind in knowing that their financial information is not stored at any third party cloud-based solutions.
- Clearing your balances involves two separate steps - the first is to download your data in a CSV file which can then be saved locally. This file is effectively the backup file for the financial data included in the management accounts and should therefore be reviewed carefully to ensure that it is accurate.
- Once this review has been completed, you can proceed with the second step by resetting all your account balances to zero values. This will ensure that no confidential information is stored in our interface.
- If after resetting your balances you need to view your management accounts again, you can do so by simply uploading your financial information from the backup file downloaded in the first step.

